JohnDoe
I followed this guide and successfully built my ownbrick oven. The instructions were clear and easy to follow. Now I can enjoy delicious homemade pizza!

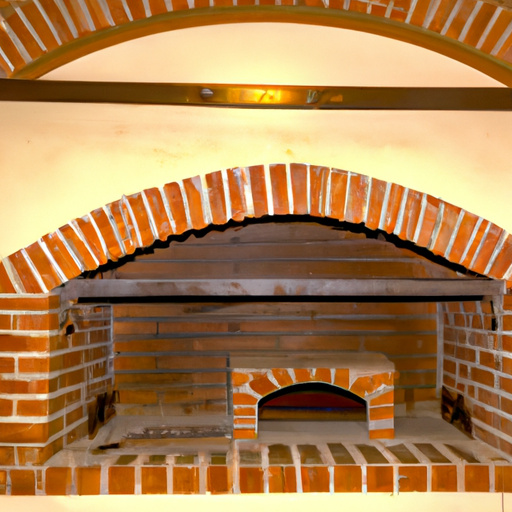
Before starting the construction of your brick oven, it's important to plan and prepare the necessary materials. Decide on the size and location of your oven, gather the required bricks, mortar, insulation materials, and tools. Prepare the foundation for the oven, ensuring it is level and stable. Take the time to carefully measure and mark the dimensions of the oven on the foundation.
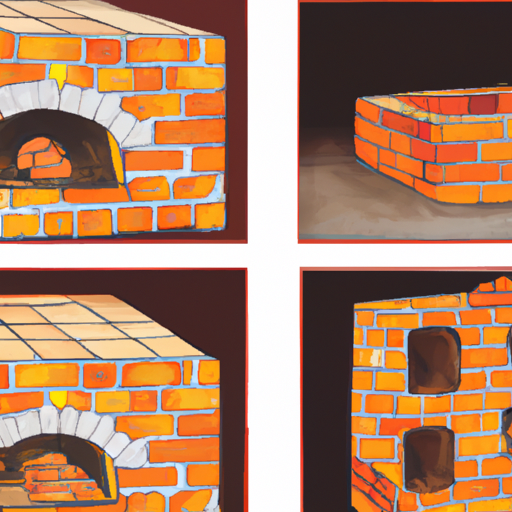
The base of the brick oven provides stability and support. Start by laying the first layer of bricks, using mortar to hold them together. Continue building the base by adding more layers of bricks, ensuring they are level and plumb. Leave openings for the oven door and chimney. Once the base is complete, allow it to dry and cure for a few days.
The dome is the most important part of the brick oven as it provides insulation and retains heat. Begin by creating a sand mold in the shape of the dome. Lay the first layer of bricks on top of the sand mold, using a mixture of sand and clay as mortar. Gradually build the dome by adding more layers of bricks, ensuring they overlap and form a strong structure. Leave an opening for the chimney and continue building until you reach the desired height.
To ensure the oven retains heat efficiently, it's important to add insulation. Apply a layer of insulation material such as ceramic fiber blanket or perlite mixture to the outside of the dome. This layer will help to keep the heat inside the oven and prevent it from escaping. Securethe insulation material in place using wire mesh or chicken wire. Allow the insulation layer to dry and cure before proceeding to the next step.
To complete your brick oven, add a decorative finish to the exterior using stucco or tiles. Install the oven door and chimney. Before using the oven for cooking, it's important to do a test firing to cure the bricks and remove any remaining moisture. Start with a small fire and gradually increase the heat over several hours. This process will strengthen the oven and prepare it for cooking delicious meals.

| Materials | Quantity | Cost |
|---|---|---|
| Bricks | 500 | $300 |
| Mortar | 10 bags | $50 |
| Insulation Material | 1 roll | $100 |
| Stucco | 5 bags | $50 |
| Tiles | 20 sq ft | $80 |
By following these steps, you can successfully build your own brick oven and enjoy the satisfaction of creating delicious homemade pizza and bread. Get started on your brick oven project and elevate your culinary skills to new heights!
JohnDoe
I followed this guide and successfully built my ownbrick oven. The instructions were clear and easy to follow. Now I can enjoy delicious homemade pizza!
PizzaLover123
I'm amazed at how well my brick oven turned out. The heat retention is excellent, and the pizzas come out perfectly cooked. Highly recommend!
BreadBaker
I built a brick oven specifically for baking bread, and it has exceeded my expectations. The crust comes out crispy and the inside is soft and fluffy. Love it!
OutdoorCook
Building a brick oven was more challenging than I anticipated, but the end result is worth it. It adds a unique touch to my outdoor cooking area.
FoodieFamily
Our brick oven has become the centerpiece of our backyard gatherings. We love making pizzas together and the kids enjoy getting creative with their toppings. Highly recommend this project!
|
|
Kelly Gutkowski is an experienced DIY enthusiast with a passion for cooking. She has successfully built multiple brick ovens and enjoys experimenting with different recipes. Kelly's expertise in building brick ovens and her love for homemade food make her the perfect guide for your own brick oven project. |